Below is a simple guide on how to install a side panel between a gate post and a wall or fence. It is worth noting that side panels are supplied as loose timber with most pieces overlength to allow for cutting on site to suit.
A side panel usually consists of a Gravel board, Rails, Capping rail and boards - most commonly tongued and grooved.
Ready made side panels are available at an increased cost.
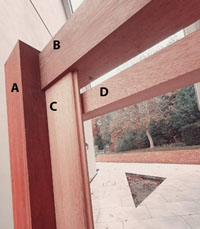
A Wall plate
B Capping rail
C Tongued and grooved boarding
D Rail
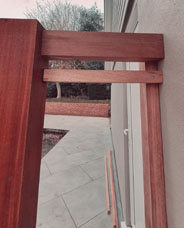
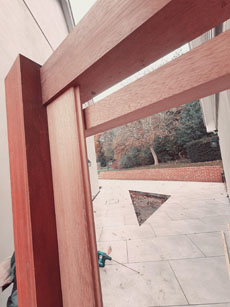
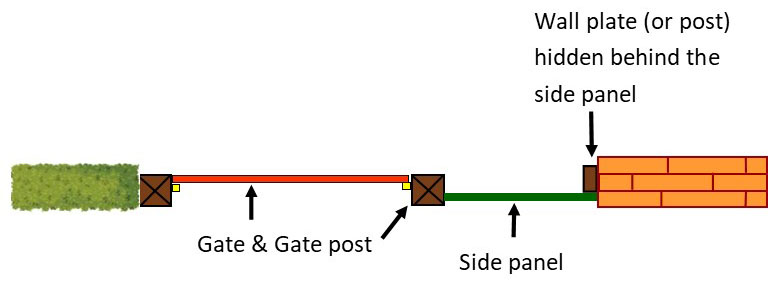
Side panels are usually fitted so that the front face of the gate
post is still showing with the wall plate or post at the other end hidden
behind the boarding. As per the diagram below:
The instructions below are presuming the posts and/or wall plate are fixed in position as above.
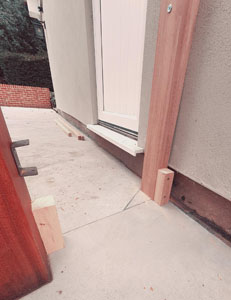
Fit the gravel board at ground level, a small block may be needed on the gatepost and wall plate/ end post as shown to pack it out so that the boards will sit on it once they are fitted to the rails.
Establish the position of the larger Capping rail to suit
either the top of the gate or fence, whichever looks natural.
Next attach the rails. These rails may either be straight edged as shown or have one sloping edge, if they have a sloping edge this is called a cant rail and the slope must be placed at the top but angled away from the boards to divert rain.
Position the top rail close to the bottom of the Capping rail and the bottom rail just above the gravel board. Attach the rails either by brackets or direct screwing.
Measure the distance between the top of the gravel board and the bottom of the Capping rail. Cut the tongued and grooved boards to this.
Attach the boards to the front of the rails, sitting below the Capping rail. Don’t push the boards too tightly together, they need room to move slightly, a penny is a good spacer, and don’t screw through the tongue as this would stop expansion and contraction of the boards.
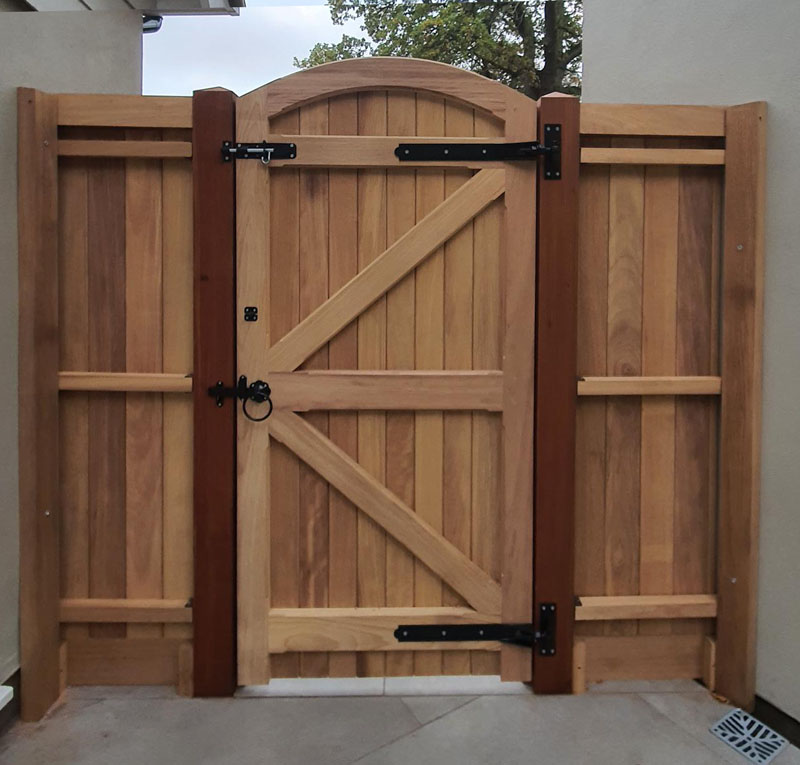
Here you can see the completed side panels, showing the positioning of the Capping rails and the other three rails used to secure the boards and the gravel board secured at the bottom using the block spacers.
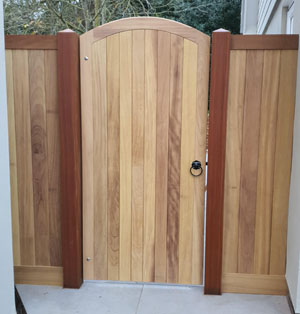
and here from the front, as you can see the wall plate is not visible and the gravel board is flush with the boarding.